
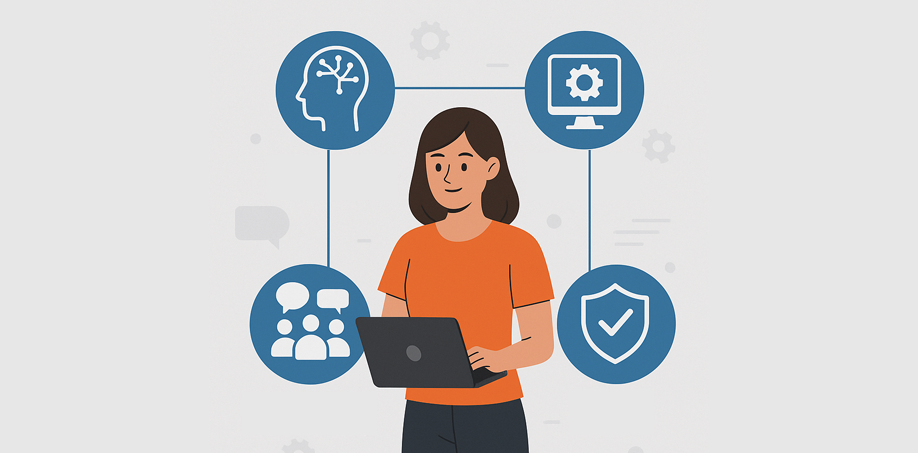
Building a Learner-Centric Future with Moodle
In a rapidly changing digital landscape, learning has become one of the most powerful ways for organisations to stay resilient and competitive. The organisations that thrive will be those that view learning not as a compliance exercise, but as a strategic advantage.
With Moodle at the heart of many learning ecosystems, there’s never been a better time to make learning experiences more flexible, data-driven, and learner-centric.
Shift from Content-Centric to Learner-Centric
Traditional e-learning approaches often assume “one size fits all.” Moodle allows organisations to design experiences that adapt to the learner, not the other way around.
With Moodle, you can:
- Create personalised learning experiences — Use Moodle’s conditional activities and learning plans to dynamically adapt content based on learner progress and performance.
- Deliver microlearning modules — Break training into manageable, high-impact chunks that keep learners engaged.
- Empower learner choice — Offer optional pathways, self-enrolment, and gamified elements that increase motivation and ownership.
When learners feel in control and see relevance, they engage deeply, and that’s where transformation begins.
Build for Change: Moodle’s Scalability and Flexibility
Learning requirements evolve constantly, new teams, new compliance needs, new tools. Moodle’s open-source architecture makes it uniquely positioned to grow with your organisation.
- Modular plugin system — Extend Moodle’s capabilities with hundreds of community or custom plugins without losing core stability.
- Scalable cloud hosting — A properly configured Moodle environment scales effortlessly as your user base expands.
- Interoperability — With support for SCORM, xAPI, and LTI, Moodle integrates easily with HR systems, analytics dashboards, and third-party tools.
Flexibility ensures that as your learning programs evolve, Moodle evolves with them.
Go Beyond Tracking: Link Learning to Real Outcomes
Moodle’s reporting and analytics features make it possible to move beyond completion rates and start measuring impact.
- Use Report Builder, Custom Dashboards, or Moodle Analytics to identify learning gaps and performance trends.
- Combine Moodle data with external systems to measure business outcomes such as productivity, compliance adherence, or learner satisfaction.
- Automate follow-ups with notifications and competency tracking to reinforce knowledge retention.
When learning analytics connect to real-world goals, training becomes a measurable driver of success.
The Power of Collaboration & Community in Moodle
Moodle’s social learning tools are one of its greatest strengths. Learning doesn’t just happen in isolation — it happens in connection.
- Forums, chats, and wikis allow learners to exchange insights and build knowledge together.
- Groups and cohorts support peer-to-peer learning within teams or departments.
- Feedback and workshop modules foster reflection, self-assessment, and peer review.
These features transform Moodle into a community hub that keeps learners engaged long after a course ends.

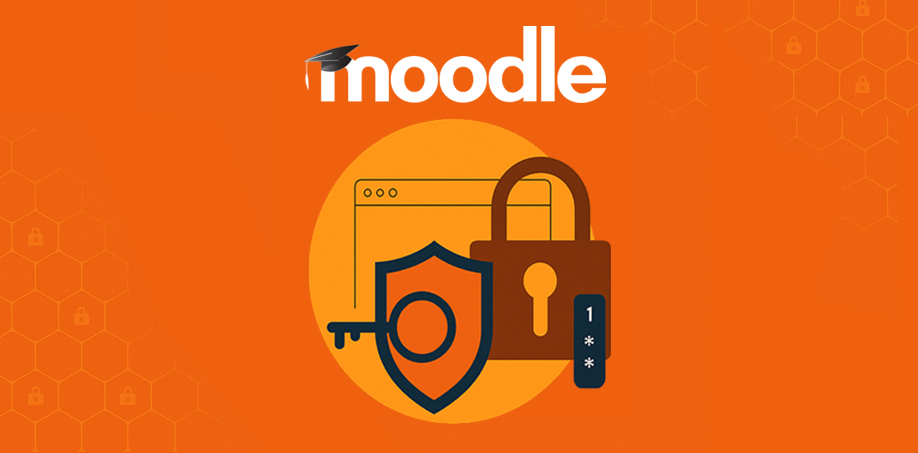
Prioritise Security & Trust
With Moodle, data privacy and security are central to platform design — especially important for educational institutions and enterprises handling sensitive information.
Best practices include:
- Regular updates and patching for your Moodle site.
- Role-based permissions and secure authentication (including SSO, MFA).
- Monitoring of integrations and backups to ensure business continuity.
- Compliance with global standards like GDPR.
Trust is foundational to every learning relationship. A secure Moodle site builds that confidence.
The Roadmap: Start Small, Iterate, Scale
Transforming your learning ecosystem doesn’t need to happen overnight. With Moodle, you can start small and expand strategically.
- Audit your current Moodle setup — identify what works and what needs enhancement.
- Pilot a new learning format — microlearning, competency-based training, or adaptive courses.
- Use feedback loops — leverage learner surveys and analytics to refine content.
- Scale successful approaches across more departments or regions
- Continuously review and optimise your Moodle environment as technology and goals evolve.
This agile, iterative mindset ensures your Moodle system remains a living, breathing part of organisational growth.
The future of learning is adaptive, data-driven, and deeply learner-centric, and Moodle is built for that future. By designing flexible, engaging learning experiences and aligning them with organisational goals, you’re not just delivering training; you’re building capability, culture, and connection.
If you’d like help optimising your Moodle environment or exploring how to make it more learner-focused, the Lingel Learning team is here to help.


Recent Comments