How to get the most out of your Moodle Course Design

How to get the most out of your Moodle Course Design

Moodle courses are generally dumping grounds for course creators where they dump documents and files for the users to read. When it comes to content creation for courses in Moodle, it’s not just about sharing content instead it’s about creating a flow or a linear path which allows a learner to learn according to a predefined sequence. Good course design takes time, a course should focus on what the learners should be able to do once they complete the course. Therefore, planning your course is essential for creating a productive learning experience for your students.

Course creators don’t take full advantage of the tools available in Moodle and in the community to develop truly interactive courses. The availability of so many applications and design options makes it difficult to choose and take advantage of these. The tools available in Moodle can help you create interactive course content for your Moodle courses. There isn’t a right or wrong way to use Moodle tools. Though each tool has a primary function yet it can be used in other ways to achieve a variety of learning experiences.


1. Choose an appropriate Course Format

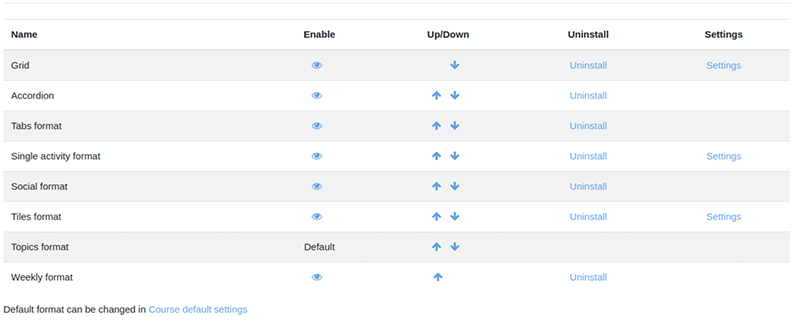
Once you have planned your course, choose an appropriate Moodle Course Format and start building your course.There are several formats available in Moodle that help you select a layout for your course, some of them are as follows:

Weekly Format: It is the most used course format in K-12 schools probably because it is most similar to the physical classroom experience. In this, your course has a block or a section for each week, relevant readings, assignments etc. can be placed together in each week’s block. Experienced teachers who have given several courses in moodle choose weekly format over other formats. It is a good option for schools as it ensures that students consume the information at the same schedule and pace. This is how the weekly format looks in Moodle:

Moodle Weekly Topics Format

Topics Format: It’s similar to the weeks format; however, instead of weeks it allows you to organise your content around topics, with a block or section for each topic or section. It’s a good option if you have various topics in your course. Also, the topics format gives the students more freedom if all the topics are not mandatory. This is what topics format looks like in Moodle:

Moodle Topics Course Format

It’s a good choice when the teacher wants to add just one particular item such as a SCORM package or a quiz.

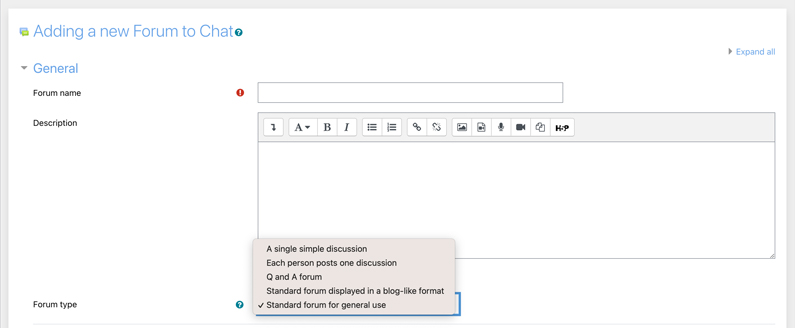
When single activity format is selected, the teacher can choose an activity they wish to use from the drop down menu. Here we selected the activity as Forum:

Single Activity Moodle Format

The image below is how a single activity format looks in moodle when Forum is selected as the type of activity:

Moodle Single Activity Forum

Social Format: If the course content is more free form then Social Format would be a good choice. It creates a big message board for discussions. This is how social format looks in moodle:

Moodle Social Course Format

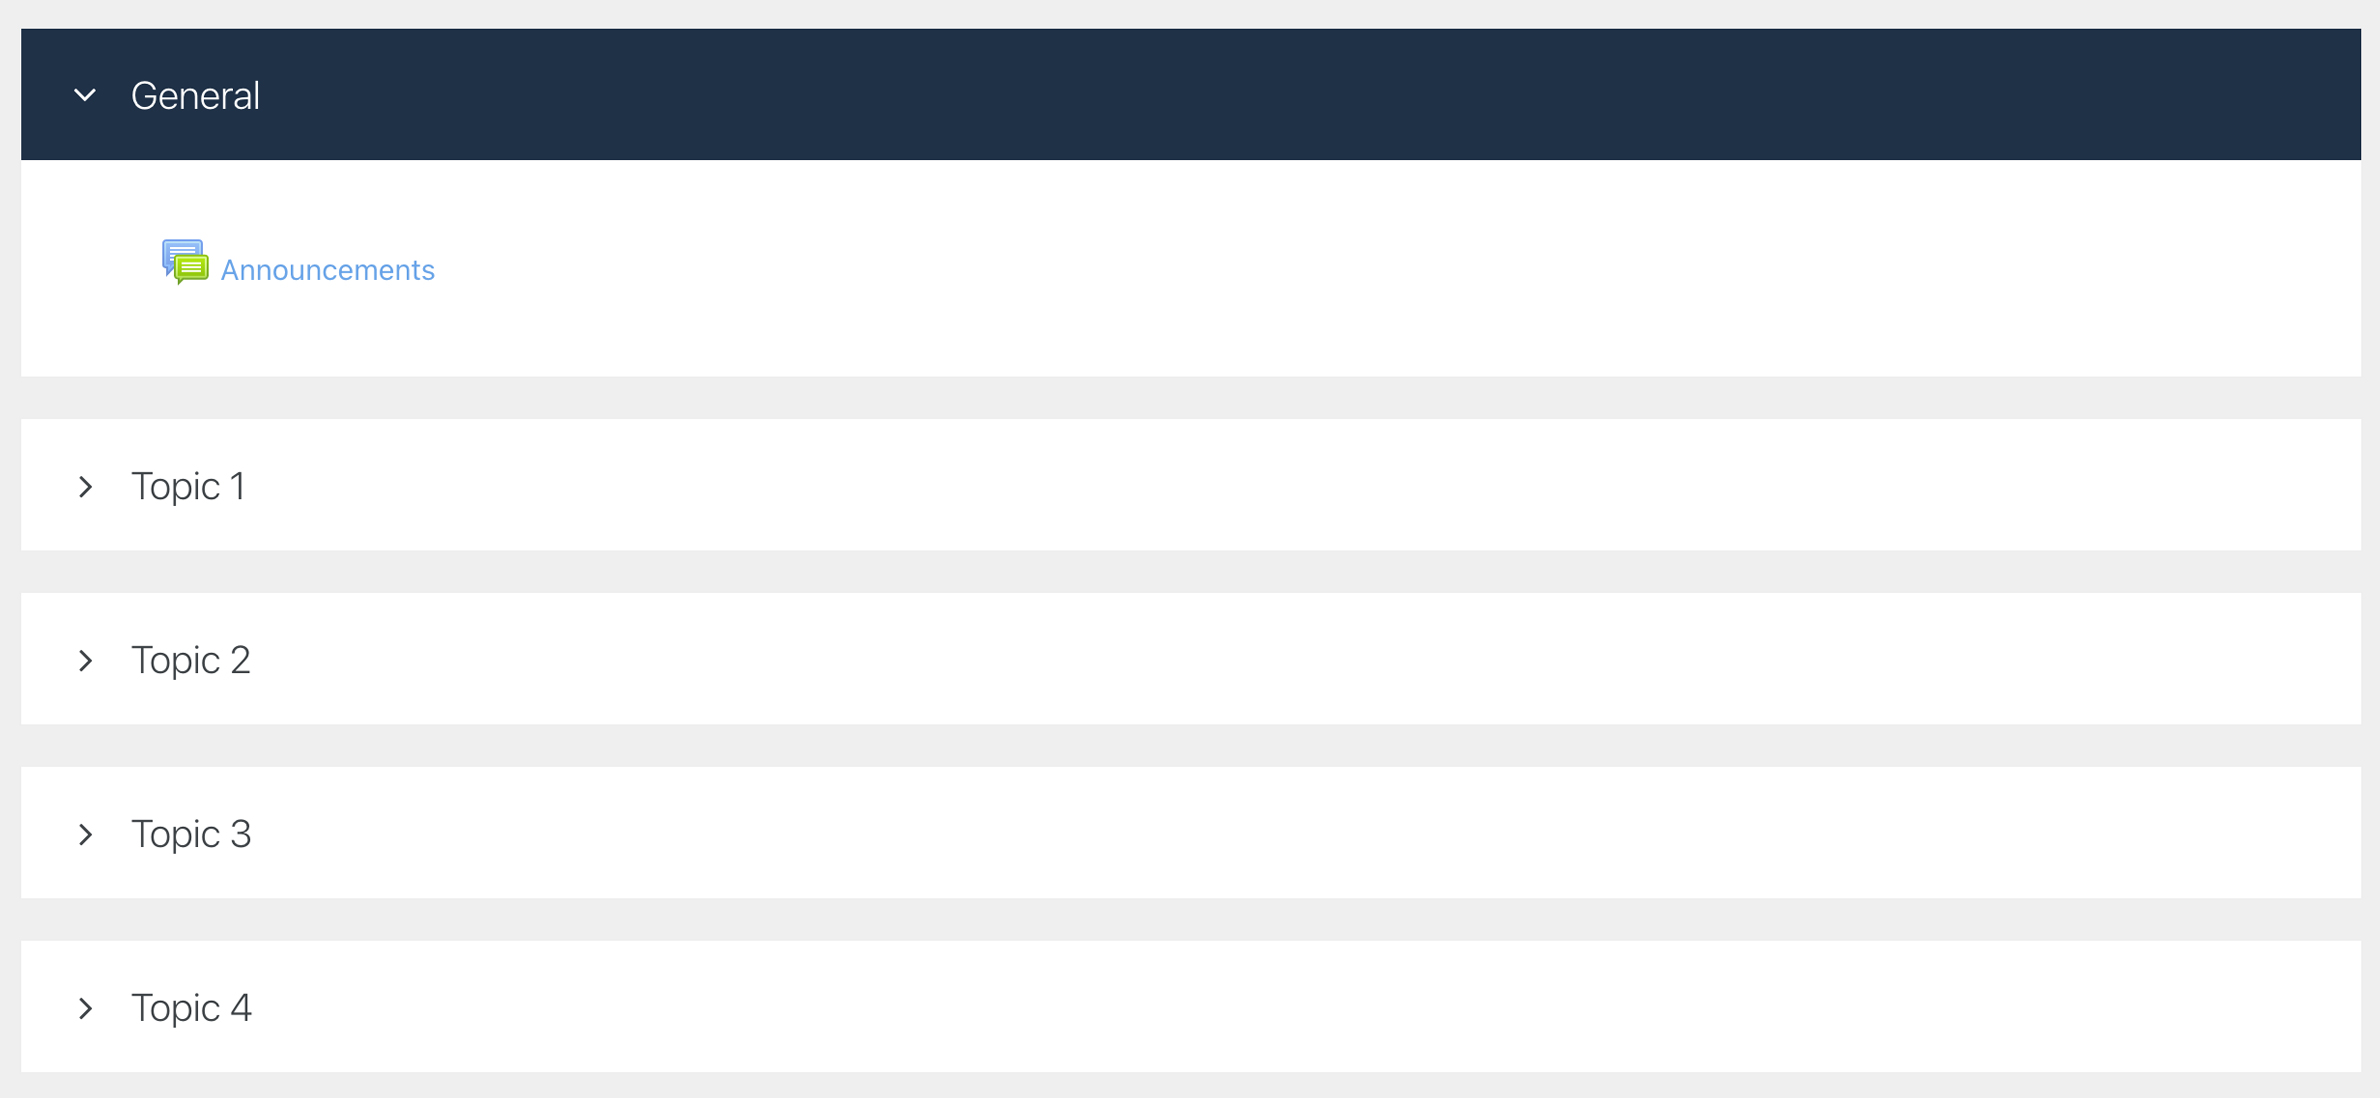
Accordion (available in Virtual Slate): This format shows your course content in a vertically stacked list of topics which can be expanded by clicking the topic and the content associated with that topic is revealed. There can be zero expanded topics, exactly one, or more than one depending on the content of course. See below for the accordion format:

Moodle Accordion Course Format

Tabs Format (available in Virtual Slate): As the name suggests in this format, the topics are shown as tabs on the the top. You can click on the tabs to reveal the content related to the respective topic.

Moodle Tabs Course Format


2. Choose an appropriate Course Activity

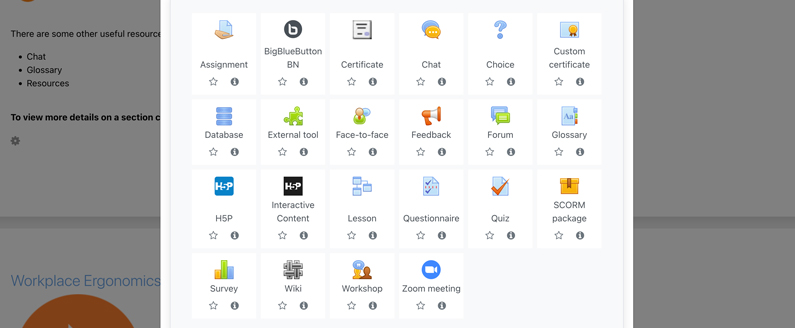
Choose activities that can engage your learners with your courses: Activity is a general name for a group of features in a Moodle Course. An activity is usually something that a student does that interacts with other students or the teacher. There are 14 different types of activities in standard moodle that can be used creatively to engage the learner. Some of the examples of activities that can make your course interactive are as follows:

Lesson: It is one of the most powerful activities in moodle that can be used for interactive learning. The lesson module presents content in a series of HTML pages to the student who is asked to make some sort of choice. Depending on the choice they make, they are sent to a specific page in the lesson. In its simplest form, a lesson can be a series of HTML pages where a student can select a continue button at the bottom of a page and it will send them to the next page in the Lesson.

Forums: Forums are easy to setup and they promote discussions which is a great way to engage the learners. They can promote communication and collaboration and all learners have a voice. You can start with a simple discussion like “Introduction” to help students develop confidence and experience in using forums.

Assignments: It allows teachers to provide feedback to students on their work. Students can submit their work in digital form, for example, word files, pdf files, spreadsheets, images, audio and video clips. Alternatively, teachers can ask students to type directly into Moodle using an online text assignment.

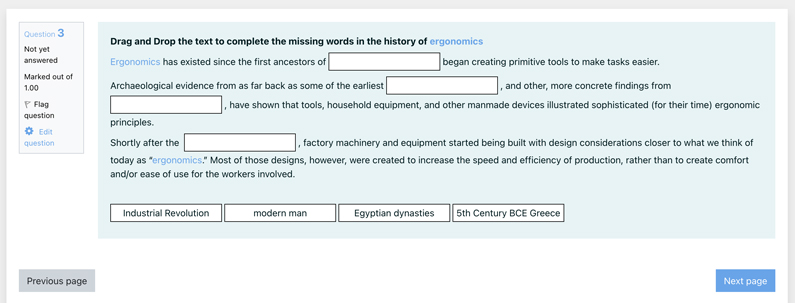
Quizzes: Moodle also has other interactive elements such as quizzes which allow presenting content or review content through multiple choice questions or matching questions. There are also other formats available in Moodle 3.0+ such as Select missing words, drag and drop into text, drag and drop into image, and drag and drop markers. These help you present the content in different ways which makes it engaging for the students.

Moodle Drop and Drag Quiz Question

Moodle Drop and Drag Quiz Question


3. Add video to make your course more interactive

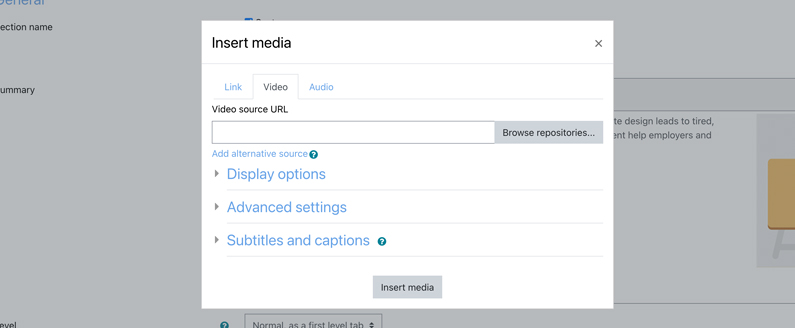
Adding videos to your course content: Video is a powerful tool that can be used in Moodle. For example, using videos students can easily catch up on a lecture they missed. A video along with written content can help establish a better understanding of the concept. Although it is preferable to upload your videos to moodle, storing them on your own server to retain control but when server space or upload limits are restricted, it is convenient to upload videos to an online site like youtube or vimeo. You can easily embed videos from these sites into moodle.

You can add questions after videos to reinforce learning and add interactivity: You can also insert the questions with videos using H5P Interactive video content type.H5P allows to create HTML5 based interactive video content that allows you to add multiple choice and fill in the blank questions, pop-up text and other types of interactions to your videos. You can make these changes onto your existing videos. A multiple choice question in H5P interactive video looks as follows:

Moodle H5P interactive video

Making a course interactive doesn’t only include selecting the right format and adding the right activities. Just adding a quiz or discussion forum doesn’t make it a good course. Activities should support the learning and reinforce the lessons that the student has just covered.


Moodle multi-tenancy or as some call it multi-tenant Moodle

Moodle multi-tenancy or as some call it multi-tenant Moodle

A large number of training organisations want to sell their services to multiple smaller training organisations, schools, corporations etc. They want to setup a space on their LMS where these organisations (tenants) can access the training material and manage their users.

The Enterprise size organisations also need a similar setup where they can setup various departments as sub-organisaions or tenants to the main (master) LMS.

Wouldn’t it be easier if we had a Learning Management System that could do out of the box and address the following concerns:

  • Master LMS administrator is able to create a tenant and specify the url that they can use to access the LMS
  • Master LMS administrator is able to define credits (number of users that the newly created tenant can enrol into pre-defined courses)
  • A tenant can have their own unique URL, which is a sub-domian of the primary LMS.
  • A tenant can have their own branded login page
  • A tenant can manage their own users
  • A tenant can be assigned a set of courses which they can access but, are unable to edit.
  • A tenant can enrol their users into the courses that have been assigned to them by the master LMS administrator
  • A tenant can create new courses in their LMS and enrol as many users as they want
  • A tenant can configure and control their own LMS
  • A tenant can view all the reports for their users and courses on the LMS
  • Master LMS administrator can login to each tenant and view reports at a granular level

Unfortunately, Moodle does not offer this feature out-of-box. There were discussions about adding this feature in Moodle 2.2, which was later cancelled.

The good news is, we at Lingel Learning have been busy building a custom Learning Management System called Virtual Slate, which addresses all the above mentioned requirements and a lot more. Virtual Slate is built on top of Moodle and covers all the default features of Moodle, which means you get all the goodness of Moodle and much more in terms of features and enhancements. You can read all about Virtual Slate and its features here. If you need further information on the Virtual Slate multi-tenant solution, please feel free to give us a call at 1300 553 345 or contact us here.

How to get the most out of your Moodle Course Design

Creating a backup in Moodle

Every now and then you come across a situation where you wish that you had taken a backup of your course in Moodle before you started making changes to the content or settings. If you are not careful while making changes, you might end up losing:

  • Student grades
  • Completion status
  • Course / Activity completion dates etc.

So to make sure you do not lose any data, you should take a backup of the course before you start making changes.

Moodle can be backed up in a number of different ways. It is important that whoever performs your Moodle backup knows what they are doing. You can use the following backups methods to perform backups for your Moodle installation:

Course Backup

Moodle allows you to backup individual courses as and when you need them and you can automate that too using the automated backup functionality. If you need to backup a single course in Moodle and or move a course from one Moodle site to another then a course backup is the easiest way to do it. Any user with editing rights can backup a course along with the user data and grades.

To perform a course backup, follow the steps below:

  1. Navigate to a course you wish to backup
  2. Under Course administration click Backup
  3. You will be prompted to select what you want to include in the backup or just keep the default settings and click Next or Jump to Final Step to move all the steps and perform the backup
      • Please note: Course Logs and Grade History can be included in the backup, but are not selected by default. You can also Anonymize user information.

    Moodle backup settings

  4. On the Schema settings – Select/deselect specific items to include in backup, then click the Next
  5. Review the backup settings and click Previous if wish to make a change, otherwise click the Perform backup 
  6. Click the Continue


Course Backup (Automated)

To setup automated backups, follow the steps below:

  1. Navigate to “Site administration” -> “Courses” -> “Backups” -> “Automated backup setup”
  2. On the following page you need to set the following:
    • Active: Set this to “Enabled” to enable the automated backups
    • Schedule: Select the days that you want to run the backup. Backups can consume quite a few resources so you can set them to run on specific days.
    • Execute at: As mentioned above, backups need system resources, so you can schedule them to run on a specific time when the server is not that busy.
    • Automated backups storage: By default the backups are stored in Moodledata directory but, you can use this setting to change it to another directory on the server or use both.
    • Save to: If you decide to store the backups somewhere else too, use this setting to define the directory where you want the backups to be stored to.
    • Delete backups older than: This is similar to the setting above.
    • Minimum number of backup kept: If backups older than a specified number of days are deleted, it can happen that an inactive course ends up with no backup. To prevent this, a minimum number of backups kept should be specified.
    • Use course name in backup filename: You should use this if you want the course name as part of the backup filename.
    • Skip hidden courses: Do you want to skip hidden courses during the backup.
    • Skip courses not modified since: You can choose to skip the course if it hasn’t been modified for a certain time period.
    • Skip courses not modified since previous backup: You can also skip the courses that have been not been modified since your last backup.

Once setup, the administrator will get an email each night (depending on the schedule set above) after the backup is complete.

Site Backup

If you need to backup your entire Moodle site, then a site backup allows a site administrator to save everything associated with a Moodle site. These backups can be restored to bring a site back to the point in time when the backup was made.

You should always perform regular backups to safeguard against data lost information in the event of problem with your site and to speed the overall recovery process.

The following three items need to perform a complete site backup:

  1. Database
  2. Uploaded files (Files uploaded via Moodle in the moodledata directory)
  3. Moodle code (Everything in server/htdocs/moodle)

If you are unsure where to find these items are located in your Moodle installation by checking the config.php file.

Need further help?

If you need assistance with backing up Moodle, improving the performance of your site or an Moodle Health Check to ensure your LMS is running correctly, get in touch with us today.

How healthy is your Moodle LMS?

How healthy is your Moodle LMS?

We see poorly managed and implemented Learning Management System’s on a regular basis, whether it’s installing a corrupt plugin or changes to Moodle’s core code can result in a sluggish, error prone environment, frustrated users and poor user adoption.


How do you check if your Moodle LMS needs a health check?


Check Installed Plugins

You should always be mindful of installing too many plugins on your production site as it does affect the performance. Another issue is that you might have installed plugins in the past that were not brought forward with major upgrades done in the past. You can go to the plugin overview page as described below and look for the following:

  • To check your active plugins navigate to Site Administration > Plugins > Plugins overview
  • Review all the installed plugins in your LMS and see if they are being used and are still available
  • Only install thoroughly tested plugins

Plugins


Check Filters 

Too many filters can also slow down the site as they run through the content before it is displayed on the site.

  • To check your filters navigate to  Site Administration > Filters > Manage Filters
  • Review all the installed filters in your LMS and see if they are actually needed.

Filters


Check your Moodle version

Moodle releases both minor and major updates in a regular support cycle.

  • To check what version your Moodle is navigate to Site Administration > Notifications
  • We recommend you should always implement minor updates (security patch and incremental updates); however with major version upgrades we recommend you wait six months after its released prior to upgrading.

Moodle Version


Enable Debugging Messages

This can be used to display information regarding any underlying problem. This also helps in determining if all the plugins follow the standard Moodle coding guidelines.

  • To turn debugging on navigate to Site administration > Development > Debugging
  • Check “Display debug messages”
  • It will then start displaying debugging info on top of each screen

Debug Messages


Moodle’s Core Code

Moodle allows you to customise it’s core code; however this may lead to problems in the future when it comes to minor and major upgrades. When working with a vendor, make sure you understand the changes they are making to your Moodle. If they intend on making changes to your Moodle core code, make sure it’s fully documented.

We recommend that you start by talking to your vendor and ask them if they have made any changes to your Moodle’s core.


What’s included in a Lingel Learning LMS Health Check:

  1. Detailed audit of your LMS
  2. Assessment of all plugin’s installed on your LMS
  3. Database review
  4. Recommendations on how to improve your LMS

Book your LMS health check today! You don’t even need to host your LMS with us.

Sell classroom-courses with sessions, online courses as well as physical goods

Sell classroom-courses with sessions, online courses as well as physical goods

Want to create courses using Moodle and sell them using an actual e-commerce application?

If you are reading this then you either use Moodle already, or are planning to use Moodle to create courses and then sell them online; but, you aren’t sure where to start. If you have previously used Moodle then you know that it already has a paypal plugin built in that allows the existing users to purchase a course using paypal. The issue here is that people can only purchase your courses after they have registered for your moodle site and only then, purchase one course at a time. This is not the most pleasing e-commerce experience for your customers/users. Wouldn’t it be great if you had an application that worked with what you already have (Moodle) and gave you the freedom to use a shopping cart to sell those courses the right way?

enrolmart and moodle

Lingel Learning introduces enrolmart, an advanced ecommerce application (shopping cart) that allows you to sell online courses, face to face sessions, shippable and downloadable products, subscriptions and more, all from one application. You can create courses in Moodle or enrolmart and sync them across to the other platform with one click. You can create voucher codes for your corporate customers who can then provide those codes to their employees, who can purchase the courses free or at a discounted rate. Whether you already use Moodle or are planning to use it in the future, whether you host Moodle with us or you don’t, you can still use enrolmart with all the features listed above and many more.

enrolmart course

enrolmart seamlessly integrates with Moodle and allows you to start selling courses and much more in almost no time at all.

Visit https://enrolmart.com or call 1300 553 345 for more details.

If you want to start creating courses and do not have Moodle or not sure where to start, call us at 1300 553 345.